
Would you like to know what does it take to test network cabling? You’re in the right place.
Network cabling testing is the proper way to keep quality control of recently made/installed cables and network systems, as well as a troubleshooting mechanism for already existing cable network systems.
So, scroll down to read more on how to test network cabling. There will also be a checklist at the bottom end.
How to Test Network Cabling
Not everyone can test network cabling. We make this clear now so you can stick with it.
Network cabling tests are the method of assurance that these stand up to high qualifications.
The standardization of professional tools and knowledge required for the task is pushed forward at the same speed that newer, better-performing cables are invented. Other tests also focus on the electrical and connectivity/conductivity levels, as well as frequency supportiveness and structural integrity.
The Telecommunications Industry Association (TIA) and/ or the International Organization for Standardization (ISO) are the main binary Certification-level testing systems applied in North America. The cable or network has to either pass (meet the standard) or fail (don’t).
Because both the voltage run and electrical systems are different in Europe, Great Britain, and some other countries in the world, the standards are also different (being the International Electrotechnical Commission (IEC) guidelines the most popular outside of NA).
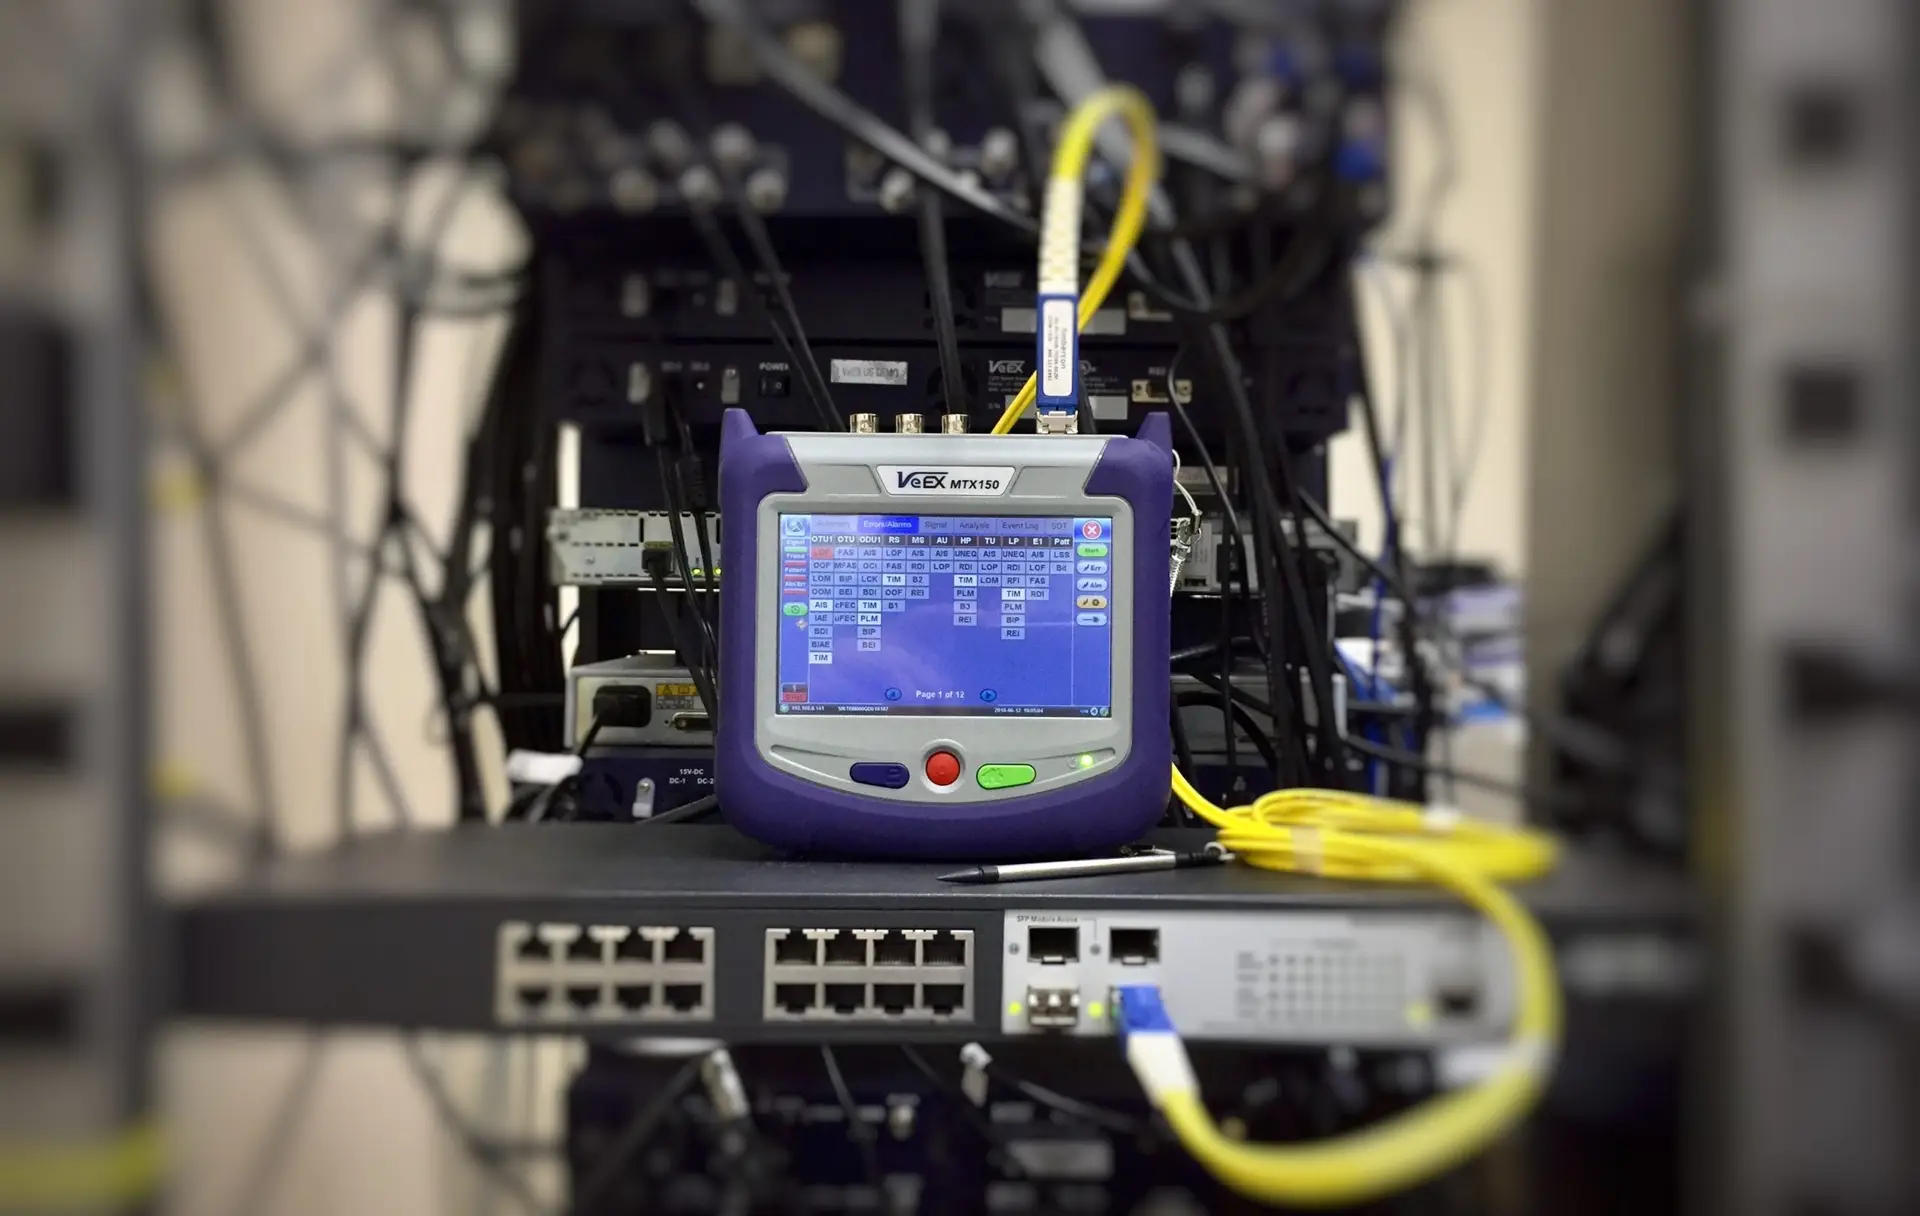
To start testing network cabling, you’ll need testers referred to as “analyzers”. These tests the previously mentioned parameters at different levels to make sure everything is OK.
If any problem arises in the network cabling system or, if you just want to test the signal strength and speed, then you’ll have to use “Qualification” and “Category” testers, which work a little bit differently. This is what internet companies use to guarantee and advertise certain speeds.
On the other hand, those so-called “Verification” testing tools are mainly used to make sure all connections inside the network system are solid (“degeneration of preexisting systems”).
Checklist for Testing Structured Cabling
- Get approved/recommended materials from verified manufacturer/supplier.
- Identify all 22U and other intermediate distribution frames.
- Confirm cable and panels have proper identifications and tags.
- Verify cable damage, cuts, deformities, or insulation before starting installation.
- See if cable pairs terminated in the CAT6 RJ45 patch panel twist into each other.
- Check individual cables for cable stress pulling tensions.
- Check bend radius.
- Confirm all cables are properly identified with tags at both ends.
- Guarantee a clean, corrosion-free network.
- Achieve satisfactory results in the Fluke test.
- Achieve satisfactory results in the Continuity test.
Is this the first time you encounter this challenge?
Well, if you kinda know what you’re doing and have the tools, then I would encourage you to give it a try until you understand how everything works.
But if you’re here, reading this today… It’s very likely you don’t know about it, that you don’t have the tools nor the time! Why not leave it to the experts? To us, LayerLogix.